Ordering Products
Ordering products in iServe is a simple process, but a number of additional prompts can be configured to be displayed by editing the Config Sets in Aztec at head office and in the iServe Config Server .
Adding a Product to the Basket
To add a product to the basket, simply navigate to the appropriate panel and press the required product icon. When ringing up a product the following prompts may be displayed (if defined in Aztec):
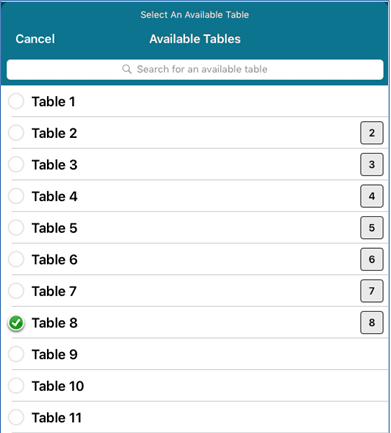
- If a product is rung up that requires a table, you will be prompted to choose an available table when the account is saved.
- If that table requires a customer name to be added to an account, you will be prompted to enter a customer name.
- If that table requires a cover count to be added to the account, you will be prompted to enter a cover count.
Searching for Products
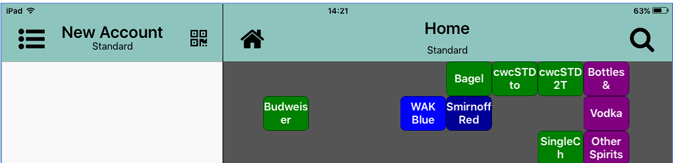
A search icon is displayed in the theme panel header to allow users to search for items across the whole database quickly and easily.
In addition to product items, the search results also display any panel names that meet your search criteria
In addition, an enhanced search option can be enabled in the Settings screen that changes the way the search operates.
The enhanced search function changes the way that search results are handled in iServe:
- Enabled - With the enhanced search enabled, when a user selects an item from the search results, the item is added to the order and the user is returned to the search box where the search field and the search results are cleared ready for a new search to be entered.
- Disabled - With the enhanced search disabled, when a user selects an item from the search results, the item is added to the order and the user is returned to the search box where the search field and the search results are retained allowing the user to select additional items from the same search results.
If Print Bill Security has been enabled and a bill has been printed, the search function will not display any products that are already on that bill.
However, users with sufficient POS privileges (site managers) are able to release this lock on the POS. Once the lock has been removed, iServe users will need to refresh iServe to be able to select the unlocked products.
To search for items within a single panel or within all panels:
- Select the Search icon at the top of any panel.
- The Search view is displayed where all products are listed.
- Type the required search term. As you type, the results are filtered dynamically, removing all items that don’t match the search criteria.
- When you see the product that you want to ring up, select it by pressing the appropriate button. The selected product will be added to the order display.
- Press Cancel to close the search window.

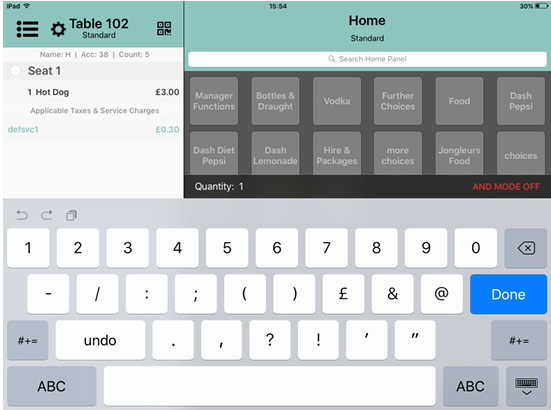
Adding an open price product
When an open price product is added to an account, the user is prompted to enter the price manually.
After entering a price, the item will be added to the order display. Users can swipe left on open priced products from where you can edit the price, add a message or delete all existing messages.
Selecting a Portion Size
When a product is added to the basket, a notification is displayed to say what and how many were added. The basket count also increases according to the number of products you've added.
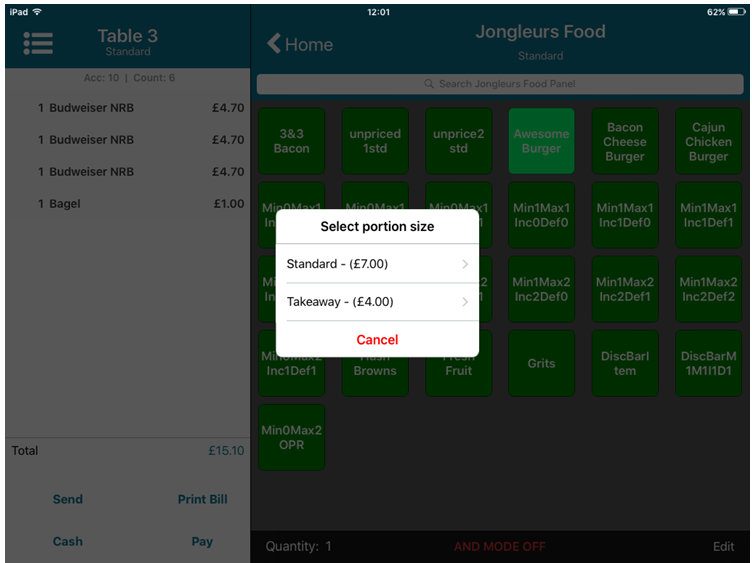
If portions have been defined for a product:
- One short press adds the selected product's standard portion to the basket
- One long press displays the portion selection menu for the product. The Select Portion Size window appears within a few seconds and the product remains highlighted in the background.
Selecting Multiple Products
To select multiple products of the same type:
- Tap on the Quantity banner at the bottom on the Selector Panel. The Quantity entry box is displayed.
- Select the number required and press Done. A banner is added to the top of the panel showing the quantity selected:
- Select the required product. It is added to the basket at the quantity selected.

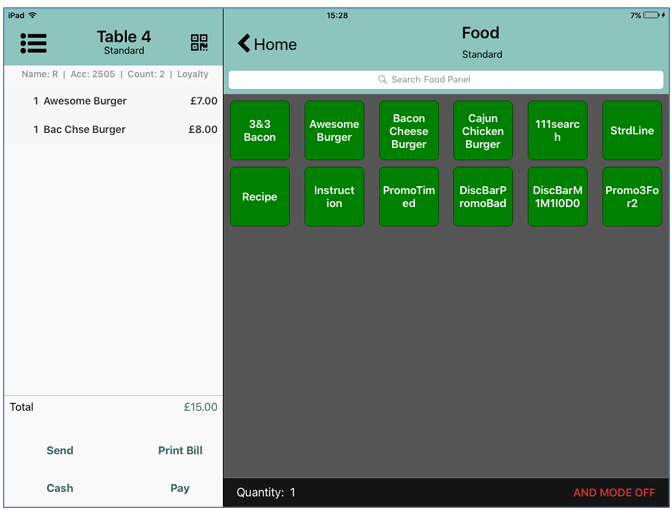
Using AND mode
When ringing up items in Aztec iServe, AND mode allows products and instructions to be added as an appendage to the previously added item.
A toggle button is provided at the bottom of the screen:
- When the button is red, AND mode is off.
- When the button is blue, AND mode is on.
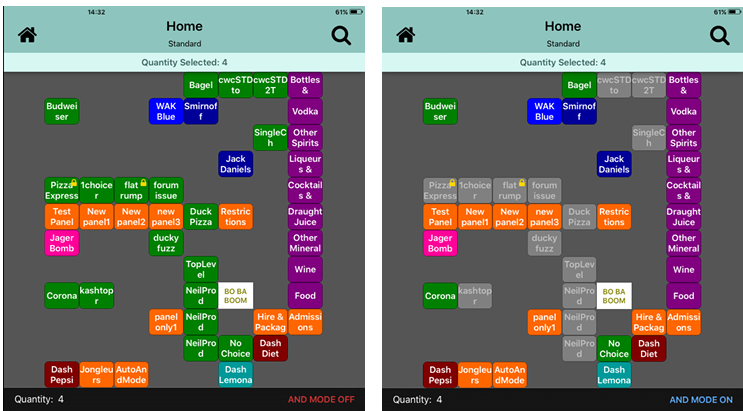
If you have a panel on your theme configured to work in AND mode automatically, it will be ON by default when opening the panel, as it is on the PoS. You can toggle it on or off as required.
Correcting a Mistake
Users can only correct mistakes from the order display if they have not been saved.
Products that have not been saved are highlighted in iServe with two asterisks (**). When they have one * or no asterisk, they cannot be modified.

Users can correct mistakes by:
- Deleting items individually
- Discarding unsaved changes
- Transferring unsaved items to another account
Deleting items individually
Users can delete items from the Order Display that are not required if the order has not been saved.
To correct an entry:
- Swipe left quickly across the product. A Delete button is displayed.
- Press Delete.
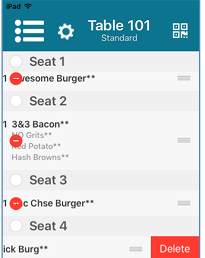
If per-seat ordering is in use on site, the deletion process is different. For more information about deleting an item when per-seat ordering is active, please refer to the 'Per Seat Ordering' How To Guide.
Discarding unsaved changes and saving account
If you pick up the wrong account and start to add products, you can discard the unsaved changes and save the account in its original form.
However, you cannot discard changes if anything has been committed to ZCF, such as changes to the table number, customer name, cover count, a voucher redemption or if you have pressed Send.
To discard unsaved changes:
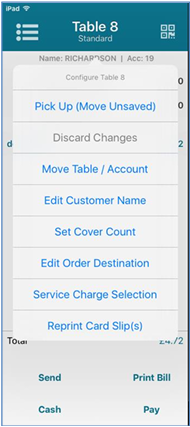
- Tap the table number to display the Configure menu.
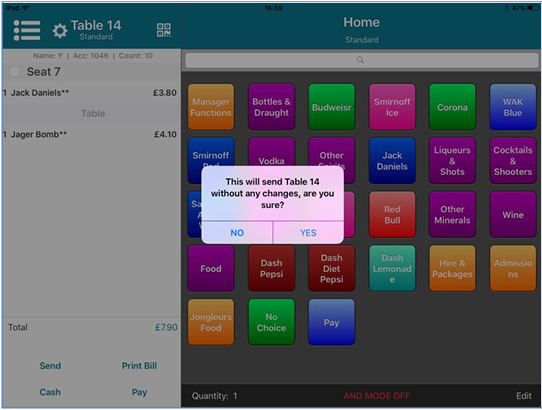
- Select Discard Changes from the Configure menu. A warning message tells you that the account will be saved without any changes.
- Select Yes to continue.
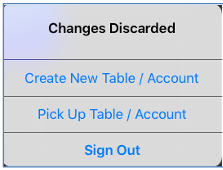
- All unsaved items are deleted, and the account is returned to its original state. The account is closed and the user is prompted to create a new account or pick up a different account.
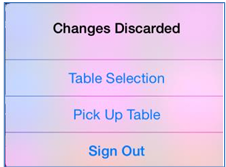
- If table workflow is in use, the user will be prompted to select a new table.
Transferring unsaved items to another account
If an employee has picked up the wrong account and started to add products, they can transfer any unsaved products to a different account or to a new account.
Users would not be allowed to transfer items if anything had been committed to ZCF, such as changes to the table number, customer name, cover count, a voucher redemption or if the user had pressed Send.
To transfer unsaved items:
- Tap the table number to display the Configure menu.
- Select Pick Up (Move Unsent) from the Configure menu. You are prompted to select the table/account to which you want to transfer the unsaved items.
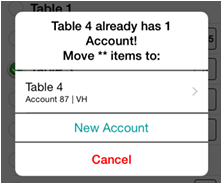
- Select the required table/account number. If the selected table already has one or more accounts, you are prompted to choose whether to move the unsaved items to an existing account or create a new account.
- Select the required account or New Account. All unsaved items are removed from the original table/account and added to the selected table/account. If the original table/account no longer has any saved products, you are prompted to close the table/account.
- Select Yes to close the table/account. The original account is closed and the order display for the new table/account is displayed.

Making choice selections
If a product item has choices, the choice selection window will be displayed automatically.
To make a choice selection:
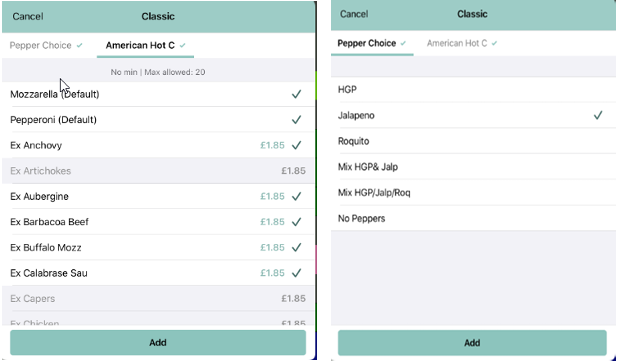
- Select a product that has choices. The Choice Selection window is displayed.
- Select the required item(s) from all of the available menus..
- If multiple choices are available, each choice will be displayed in a separate tab page. Select all tab pages if required.
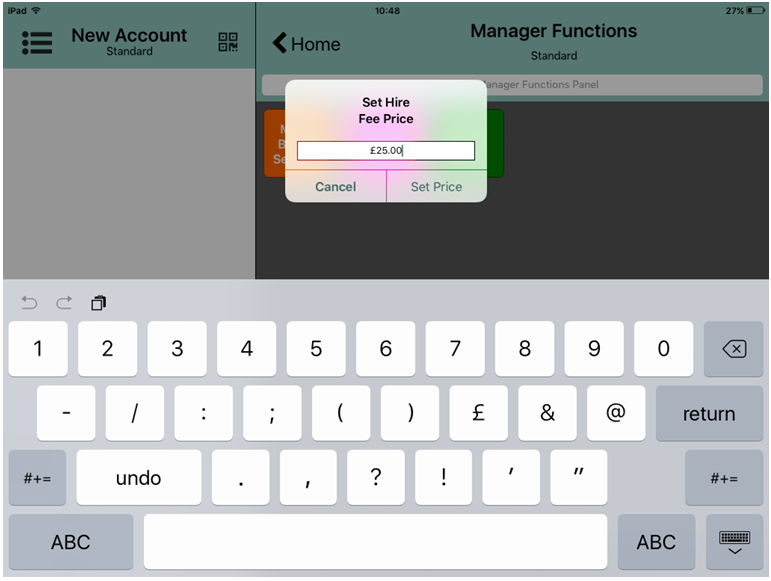
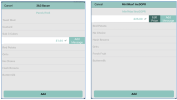
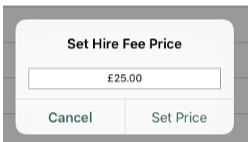
- If a choice is an open price product, you will be prompted to enter a price for the choice:
- Enter the required price and select Set Price.
If a site is configured for conversational ordering choices to auto advance, once a choice selection has been made the user is automatically moved to the next choice to be completed so the user does not have to manually navigate to the next choice tab when the current choice’s criteria have been met. This matches the behaviour on the EPoS terminal.
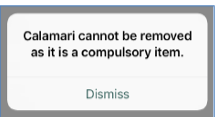
If there is only one choice it will be selected automatically and you will be unable to deselect it.
If you are allowed to make one choice from a list, after selecting a choice, you can change your selection by choosing a different item. The originally selected choice will be de-selected automatically in the same way as it is on the PoS.
If you are allowed to make multiple choices, once you have made all the allowable selections you will need to deselect a choice before you can make a new selection.
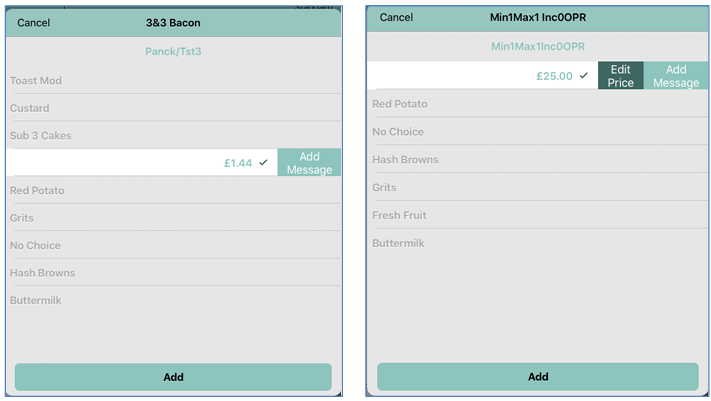
You can also add a message to any choice (except the default choice). To add a message, swipe left on the choice and select Add Message. If an open price choice you will also have the option to edit the price.
A message icon will be displayed on the product line:
- Select Add to apply your choice and return to the Selection screen.
- Once a message is added, you can swipe left again to add further messages or Delete all messages.
Editing choices
You can only modify choices in Aztec iServe when the product has not been saved.
To edit choices:
- Tap on the choice on the Order Display.
- Select Edit Choices.
- Select your new choices.
To edit choices from a saved account, please follow the normal procedure on a physical per-seat ordering terminal.
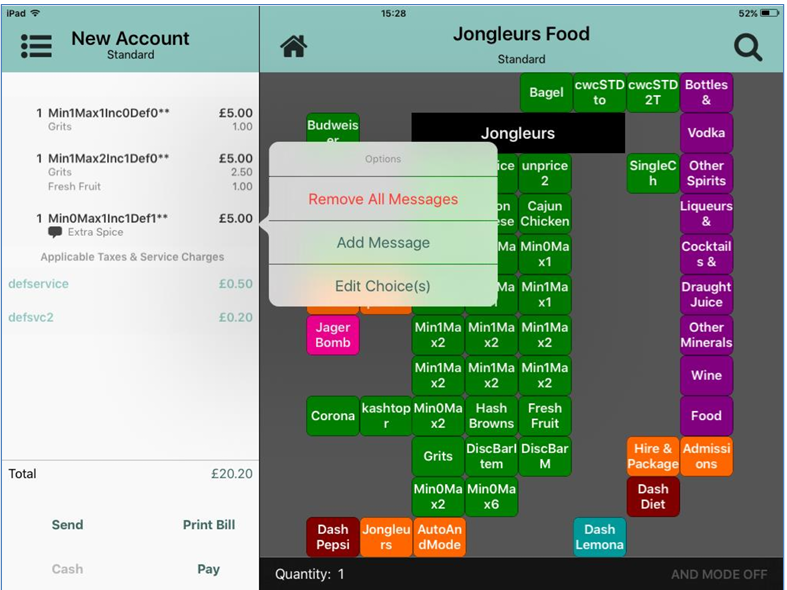
Adding messages
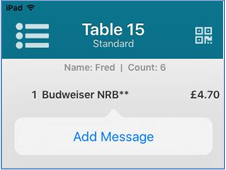
To add messages to a product line:
- Press the product line on the order display to which you want to add a message.
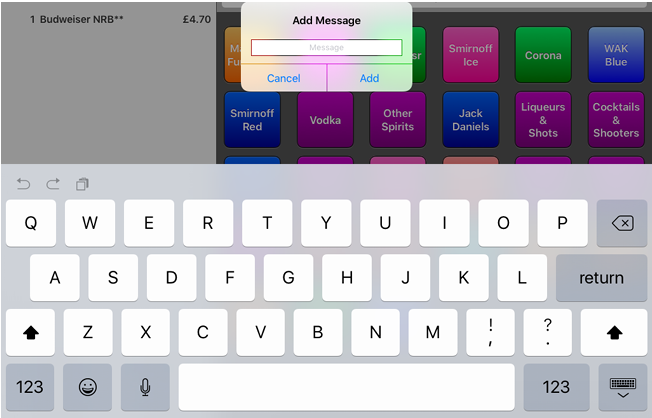
- Press Add Message.
- Enter the required message or instruction. You can enter up to 14 alphanumeric characters.
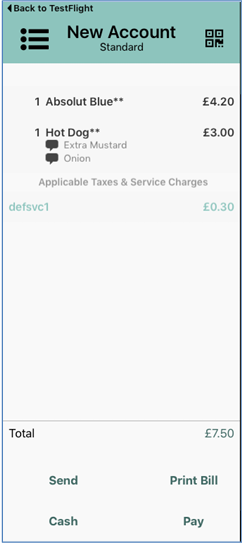
- Click Add to complete your message. The message is appended to the product line.
- Press the item to bring up the message box, from where you can remove all messages:
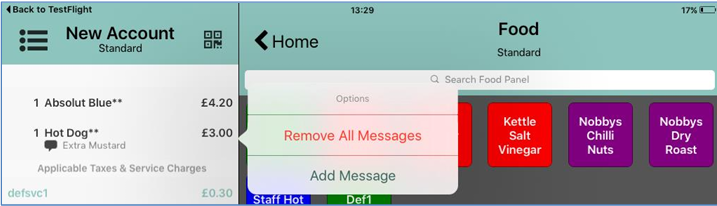
Or add additional messages:
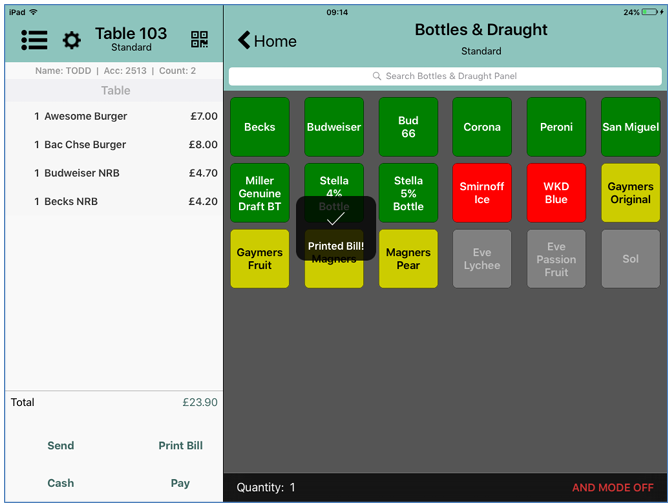
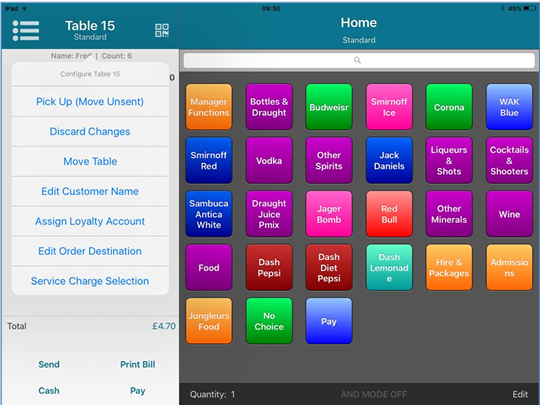
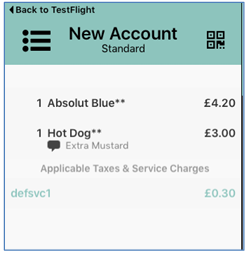
Disallow payment until the bill is printed
If enabled in the iServe Config application, users will be unable to take payment for an account until the bill is printed. The Cash and Pay buttons will be greyed out:
To activate the Cash and Pay buttons the user must select Print Bill.